Verified domains
Before you can send live emails on Waypoint, you need to add and authenticate a custom domain you own (eg. yourcompany.com, not gmail.com).
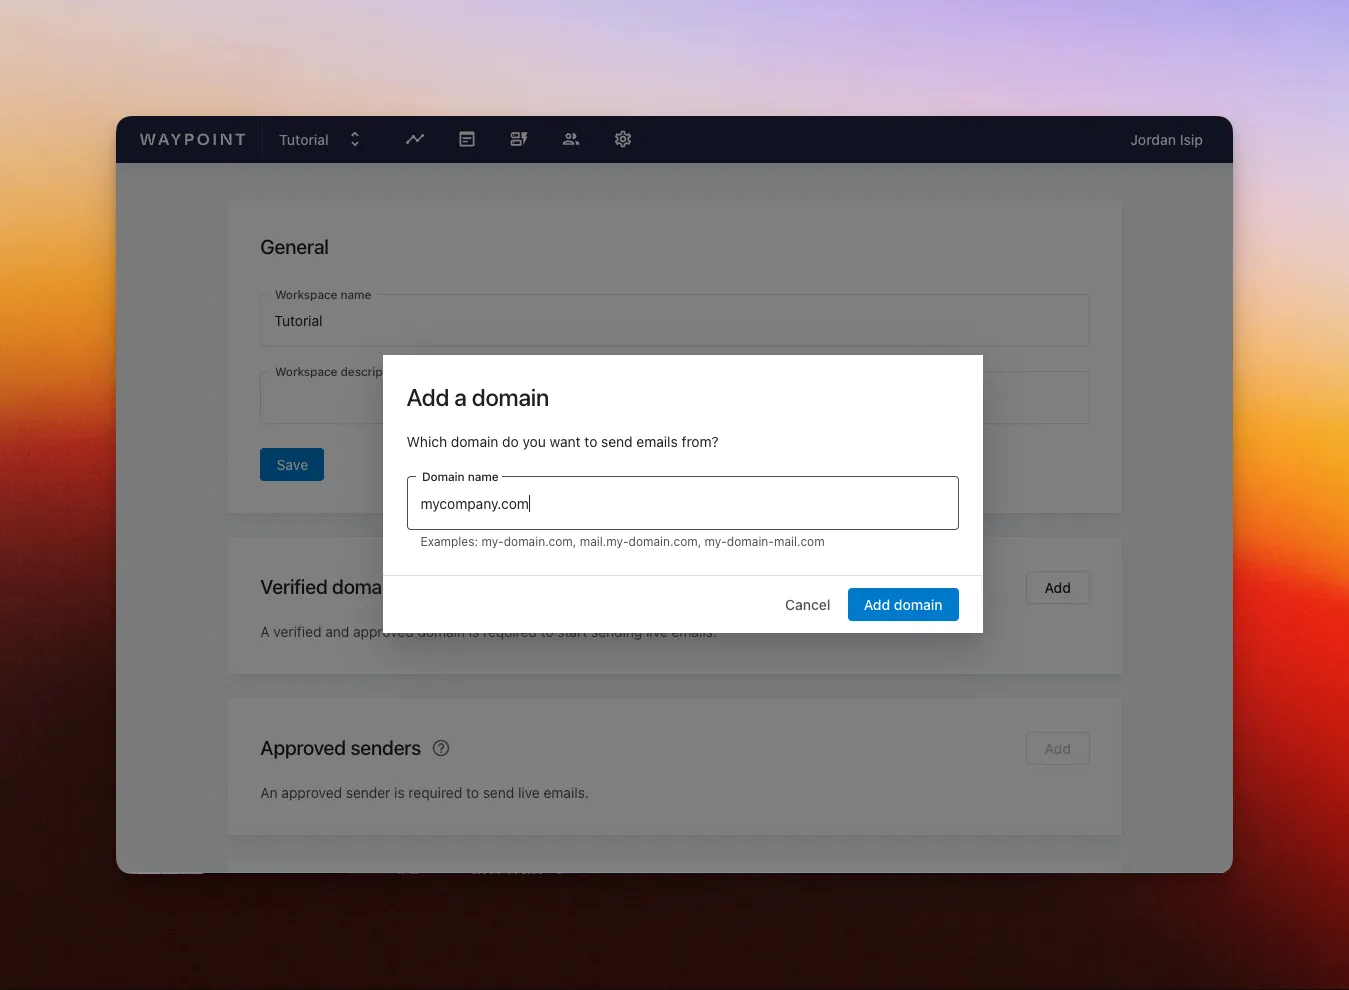
Step 1. Add a domain
Section titled “Step 1. Add a domain”- Open your workspace’s settings page.
- Scroll to the ‘Verified domains’ section.
- Click ‘Add’.
- Enter the domain you want to send from (eg. yourcompany.com).
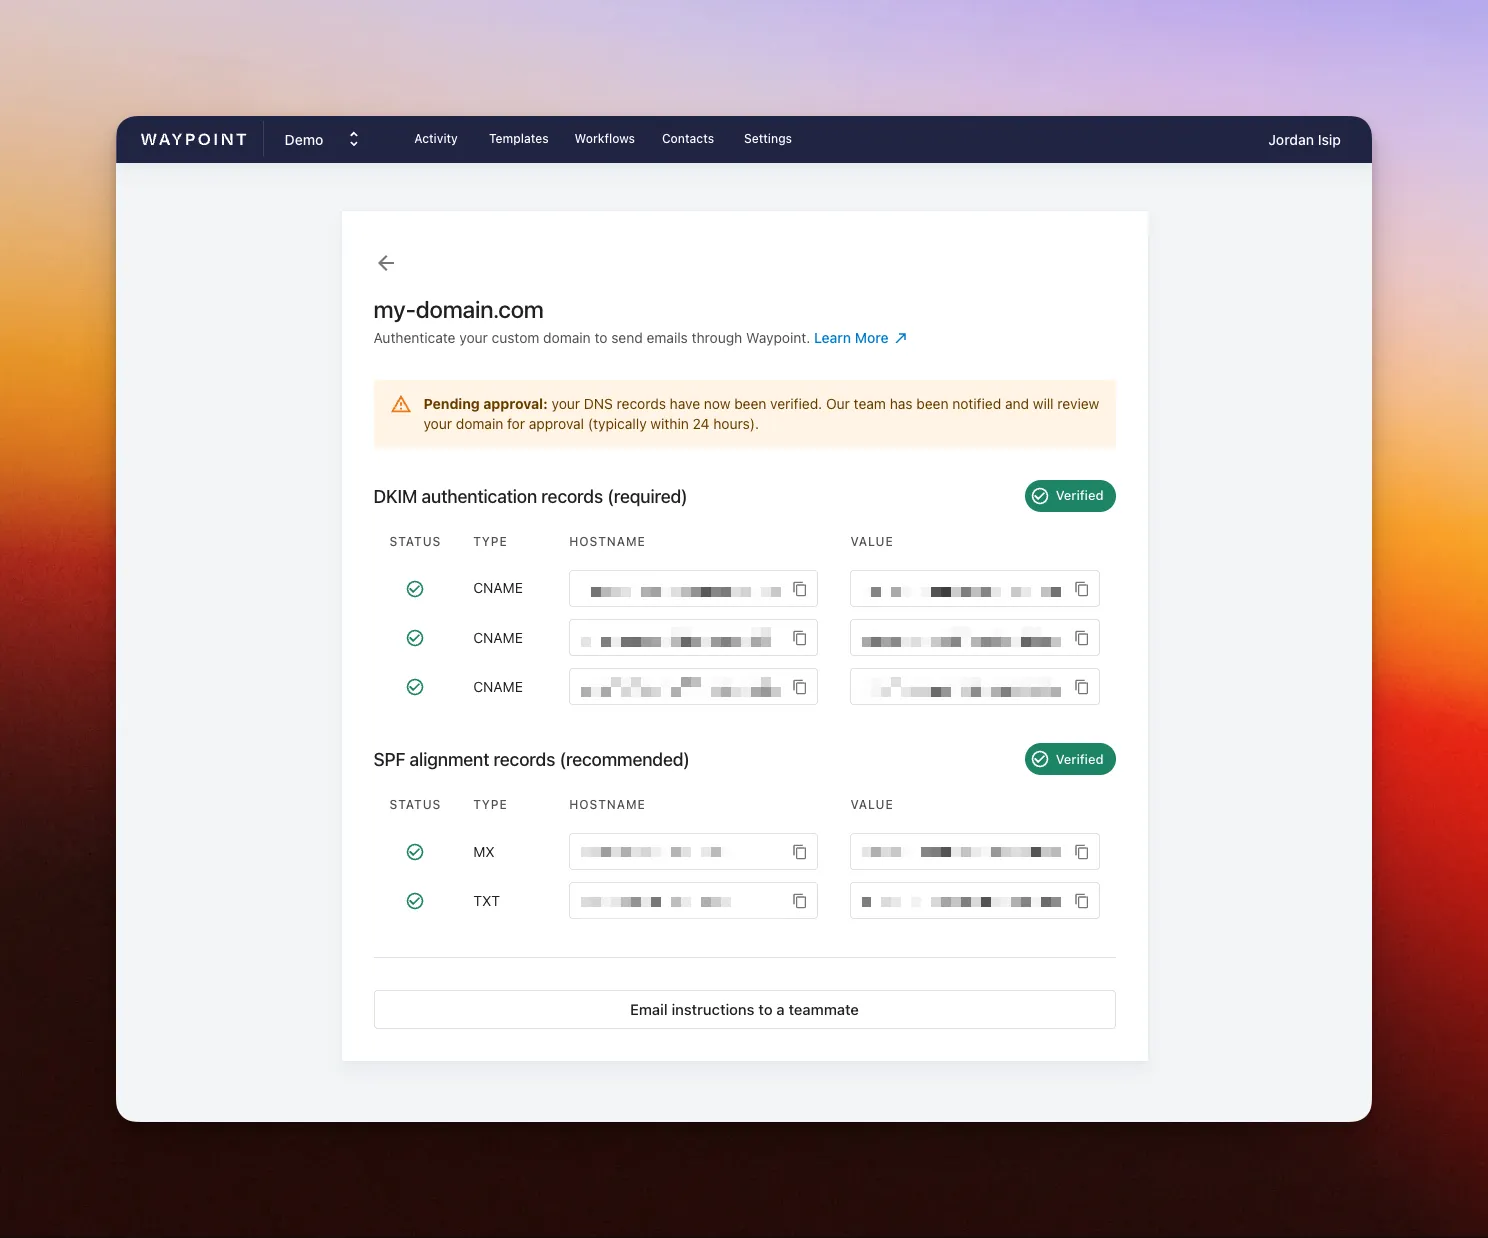
Step 2. Add DNS records
Section titled “Step 2. Add DNS records”Once your domain is added, you’ll get a list of DNS records that authorize Waypoint to send emails on your behalf.
- Open your domain page, linked from your workspace’s Settings page.
- Copy each DNS record and add it to your domain registrar.
- Waypoint checks in the background for the records to go live.
- Once everything is verified, the Waypoint team is automatically notified to review and approve the domain.
What are SPF and DKIM records?
Section titled “What are SPF and DKIM records?”These DNS records authorize Waypoint to send emails on behalf of your domain. They build trust with mail providers and help your emails land in inboxes instead of spam.
Your domain page lists two groups of DNS records — one for DKIM and one for SPF. They cover the two main email authentication checks:
-
SPF (Sender Policy Framework) verifies that the sending server is allowed to send on behalf of your domain.
-
DKIM (DomainKeys Identified Mail) adds a digital signature to each email, proving it came from your domain and wasn’t tampered with.
Once the records are in place, Waypoint handles signing and authorization for you in the background.
For an extra layer of authentication, set up a DMARC record. DMARC builds on SPF and DKIM and tells receiving servers how to handle emails that fail authentication. Learn how to implement DMARC.
Step 3. Await Waypoint review
Section titled “Step 3. Await Waypoint review”Once DNS is verified, the Waypoint team gets notified to review the domain. Every domain is manually reviewed to keep deliverability scores high across the platform.
Reviews usually happen within 24 hours.
What’s next?
Section titled “What’s next?”While your domain is in review, you can already create an approved sender — the address you’ll send from (eg. support@yourdomain.com).