Using delays
Delays offer the ability to temporarily pause your workflow for a designated duration before proceeding. This functionality proves useful in scenarios where you wish to establish a workflow that dispatches tips on utilizing a particular feature after a user’s initial encounter with it.
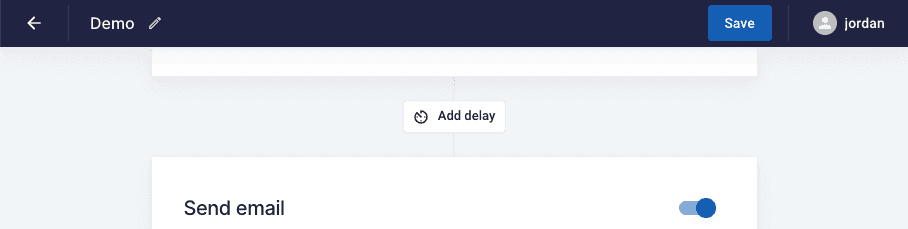
Setting up a delay
Section titled “Setting up a delay”To setup a delay, simply locate the ‘Add delay’ button and configure the desired duration for the delay.
Viewing a delay
Section titled “Viewing a delay”Once a workflow with the delay is triggered, you will be able to see the delay in action from your workflow run.
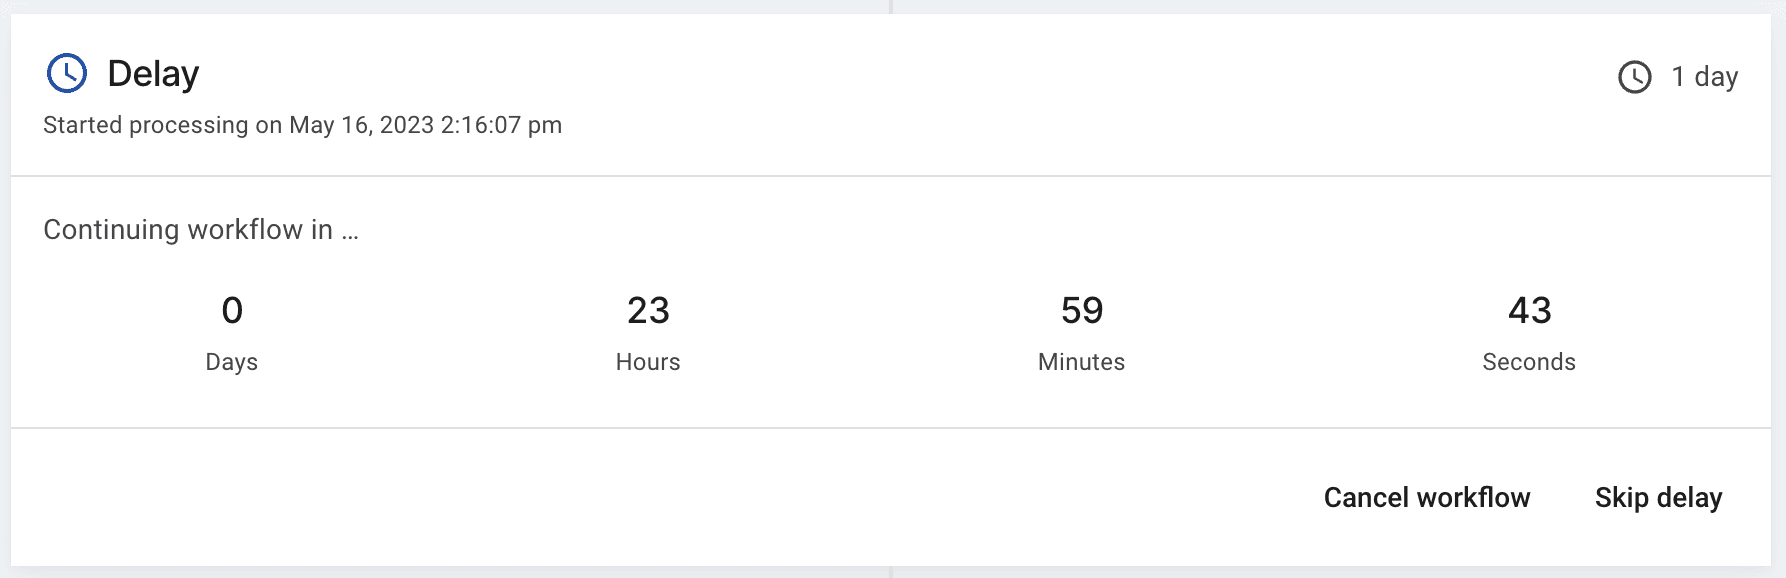
Skipping a delay
Section titled “Skipping a delay”Skipping the delay will fast-forward the delay and continue to the next step in the workflow. If you want to skip a delay, you can do so from a workflow run page. Open up the workflow run from your activity page and click on ‘Skip delay’.